
Transforming your dynamic Instagram Reels into shareable GIFs makes it simple to spread moments of creativity across chat threads, blogs, and social networks that support animated images. A perfectly timed clip of a dance move, a product demo, or a stunning visual effect can gain even more traction when packaged as a lightweight, looped GIF. In this step-by-step guide, you will learn how to export your Reels, convert them into high-quality GIFs using both mobile and desktop tools, optimize file sizes for fast loading, and share them seamlessly on multiple platforms. Along the way, you’ll discover how services like sssinstagram can help you organize your favorite GIFs and template links for quick reuse.
Exporting Your Reel for Conversion
Before you begin the GIF creation process, you must first obtain a local copy of your Instagram Reel. Start by opening the Instagram app and navigating to the specific Reel you wish to convert. Tap the three-dot menu icon in the lower right corner and select “Save to Camera Roll” or “Download.” If this option is not immediately visible, you may need to switch to your own profile and download from your saved Reels section. Once the video file is stored on your device, confirm that its length does not exceed the typical GIF duration of five to eight seconds. Long videos can be trimmed down in your phone’s gallery editor or within Instagram’s own trim tool before exporting to ensure only the most impactful segment becomes part of your GIF.
Using Mobile Apps to Create GIFs
On a smartphone, dedicated apps offer a quick path from video to GIF without requiring a computer. After installing a trusted conversion app from the App Store or Google Play, open it and grant permission to access your camera roll. Select your saved Reel and choose the trim handles to isolate the exact frames you want to loop. Look for options labeled “Loop” or “Ping-Pong,” depending on whether you prefer a back-and-forth effect or a continuous forward loop. Adjust the resolution slider to balance clarity with file size. High frame rates produce smoother motion but can inflate the file size beyond what is practical for sharing. As you refine the settings, preview the GIF within the app to check that the loop is seamless and free of stutters. When satisfied, export the GIF and save it back to your gallery, ready for immediate sharing.
Converting Reels to GIFs on Desktop
If you prefer working on a desktop, you can convert Instagram Reels into GIFs using free online tools or software such as Photoshop. Upload the downloaded Reel file to a web-based converter—just search for “video to GIF converter” in your browser. These sites typically allow drag-and-drop uploads, automatic trimming, and quality adjustments. For more control, use Photoshop by importing the video frames into a timeline. In Photoshop’s Import menu, select “Video Frames to Layers” and specify the frame range. Once the layers appear, switch to the Timeline panel and choose “Forever” looping. Use the Export As feature to select the GIF format, set the color palette, and adjust dithering options. Always preview the exported GIF in your browser to verify that it loops correctly and that colors remain true to the original clip. Desktop conversions often produce cleaner results and allow fine-tuning of every parameter, making them ideal for more complex or branded GIFs.
Optimizing Your GIF for Easy Sharing
Whether you convert on mobile or desktop, optimizing your GIF’s file size is essential for quick loading and seamless sharing. Aim to keep the final size under 2 MB by reducing dimensions to 480 by 270 pixels or lower, limiting colors to a 256-color palette, and lowering the frame rate to 12–15 frames per second. Loop duration should be concise, capturing only the most engaging portion of your Reel. Many converters include compression sliders or preset export modes labeled “Small File” or “Optimized for Web.” Test your GIF in a messaging app or web preview to ensure it uploads quickly and plays smoothly without lag. By striking the right balance between size and quality, you guarantee that friends, followers, and blog readers can enjoy your animated moments instantly, without frustrating delays.
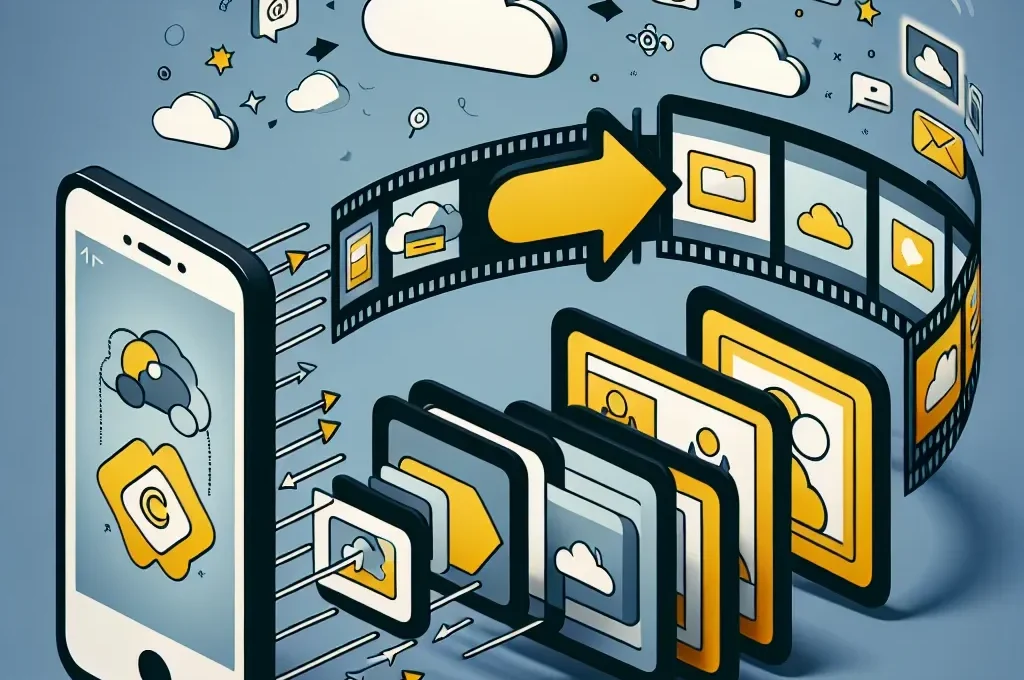
Organizing and Sharing Your GIF Library
Once you have a set of high-quality GIFs derived from your Reels, consider organizing them in a dedicated cloud folder or using a link-management service like sssinstagram. By saving each GIF’s share link or storing the master files in one place, you can quickly retrieve and deploy them in future conversations, tweets, or content calendars. When you post on platforms like Slack, Twitter, or a WordPress blog, simply copy and paste the GIF’s URL to embed it, or upload the file directly from your organized library. For even greater efficiency, create themed collections—such as celebrations, tutorials, or visual effects—so you can instantly access the right GIF for any context. With a well-curated GIF library at your fingertips, you maintain a dynamic presence across multiple channels without recreating content from scratch.
Turning your Instagram Reels into GIFs amplifies their reach and versatility. By exporting your Reel, converting in a mobile app or desktop program, optimizing for file size, and organizing your GIFs for easy sharing, you unlock new ways to captivate audiences. Whether you send animated highlights to friends or embed GIFs in blog posts, these looping clips become a powerful extension of your creative toolkit. Embrace this workflow and make every memorable moment shareable in just seconds.